Skip to content
Light & Optics · Physics

Tracing a Ray Through a Glass Slab: Class 10 Virtual Lab

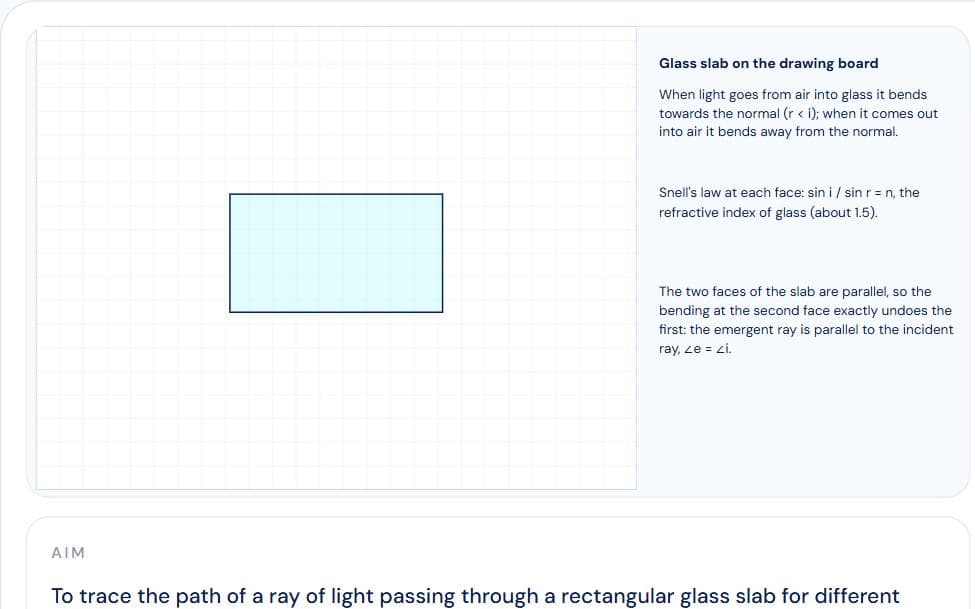
The Class 10 practical, done on a drawing board: draw the slab's outline and the normal, set the angle of incidence, fix pins P and Q, then look through the glass and drag pins R and S until they line up with the images. Join your own pins, lay the protractor on your lines and read ∠r and ∠e to 1°. Three trials fill the observation table; the result shows ∠e = ∠i and the lateral displacement, with precautions and viva questions.

Interactive virtual lab · no download · works on phones and laptops

Chapter
Light: Reflection and Refraction · Class 10 Practical
For
Class 10 · CBSE practical
Time
~20 min

Glass Slab Practical: Tracing a Ray Through a Rectangular Glass Slab is a Pro simulation

Pro opens all 152 virtual labs — 693 simulations with guides and quizzes.

How to use it

  1. 1Go step by step with Next: Aim, Apparatus, Theory, then the drawing board.
  2. 2Set ∠i and fix P and Q; drag R and S on the board until the eye view shows them in line with the images.
  3. 3Read the angles off the magnified protractors and record; repeat for three angles.

What to notice

  • The ray bends towards the normal entering glass and away from it leaving.
  • The emergent ray is parallel to the incident ray (∠e = ∠i) but shifted sideways.
  • sin i / sin r comes out close to 1.5 every time: the refractive index of glass.

For teachers

A ready-made teaching kit comes with this lab

  • Lesson plan

    25 min, 4 steps

  • Ask the class

    4 questions with answers

  • Quick quiz

    6 questions, printable

  • Key formulas

    3 formulas

About the Glass Slab Practical: Tracing a Ray Through a Rectangular Glass Slab simulation

This is the CBSE Class 10 practical “to trace the path of a ray of light passing through a rectangular glass slab for different angles of incidence, measure the angles of incidence, refraction and emergence, and interpret the result”, done online the way it is done in the lab: an outline on a drawing sheet, a normal, an incident ray and four pins.

The hands-on part is the sighting. You drag pins R and S on the far side of the slab until, looking through the glass, they hide the images of P and Q; the eye-view panel shows exactly what a student sees. Your emergent ray is the line through your own pins, and the protractor is laid on your own lines — so your readings carry the same small errors a real practical file does.

Also covers: tracing the path of a ray of light through a glass slab, refraction through glass slab, glass slab experiment, angle of incidence angle of refraction angle of emergence, lateral displacement, pin method, rectangular glass slab, class 10 practical, class 10 practicals, class 10 physics practical, class 10 science practical, cbse class 10 practical, physics practical class 10, virtual lab class 10, practical file.

Frequently asked questions

Why is the angle of emergence equal to the angle of incidence for a glass slab?

The two faces are parallel, so the ray meets the second face at the same angle r at which it left the first. Refraction there reverses the bending exactly, and the ray leaves at the angle it came in, parallel to its original direction.

What is lateral displacement?

The sideways shift between the incident ray produced and the emergent ray. It grows with the slab's thickness and the angle of incidence.

Why must the pins be placed far apart?

Two points far apart fix a line's direction precisely; pins a centimetre apart turn a millimetre's misplacement into several degrees of error.

What angles of incidence should I use?

Between about 30° and 60°. Near 0° the bending is too small to measure; near 90° the ray barely enters.